Golden Hour vs. Sunset: What's the Difference and When Should You Shoot?
Ask five photographers to meet for a sunset shoot and you may get five different arrival times. One wants the soft glow before the sun drops, another is chasing a silhouette, and a third plans to stay for the pink afterglow. They are all talking about the same evening, but not the same light. Golden hour and sunset overlap, which is why the terms get used interchangeably. They are not the same thing, and treating them as one window can cost you the shot you actually wanted.
What Golden Hour Means in Practice
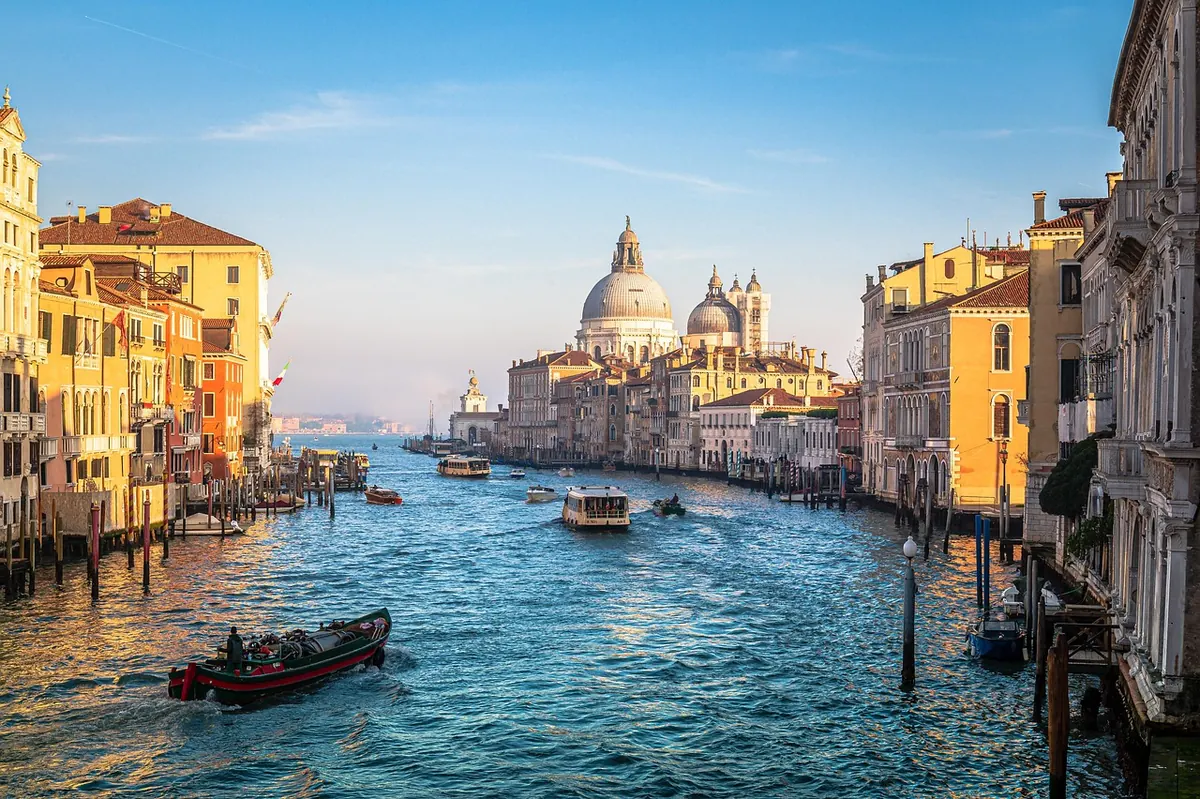
Golden hour is the period when the sun sits low above the horizon, generally shortly after sunrise and shortly before sunset. The light travels through more of the atmosphere, which softens its intensity and warms its color. Shadows grow long. Skin tones pick up a glow that is difficult to fake. Foliage, stone, and sand take on texture instead of flattening under harsh midday light.
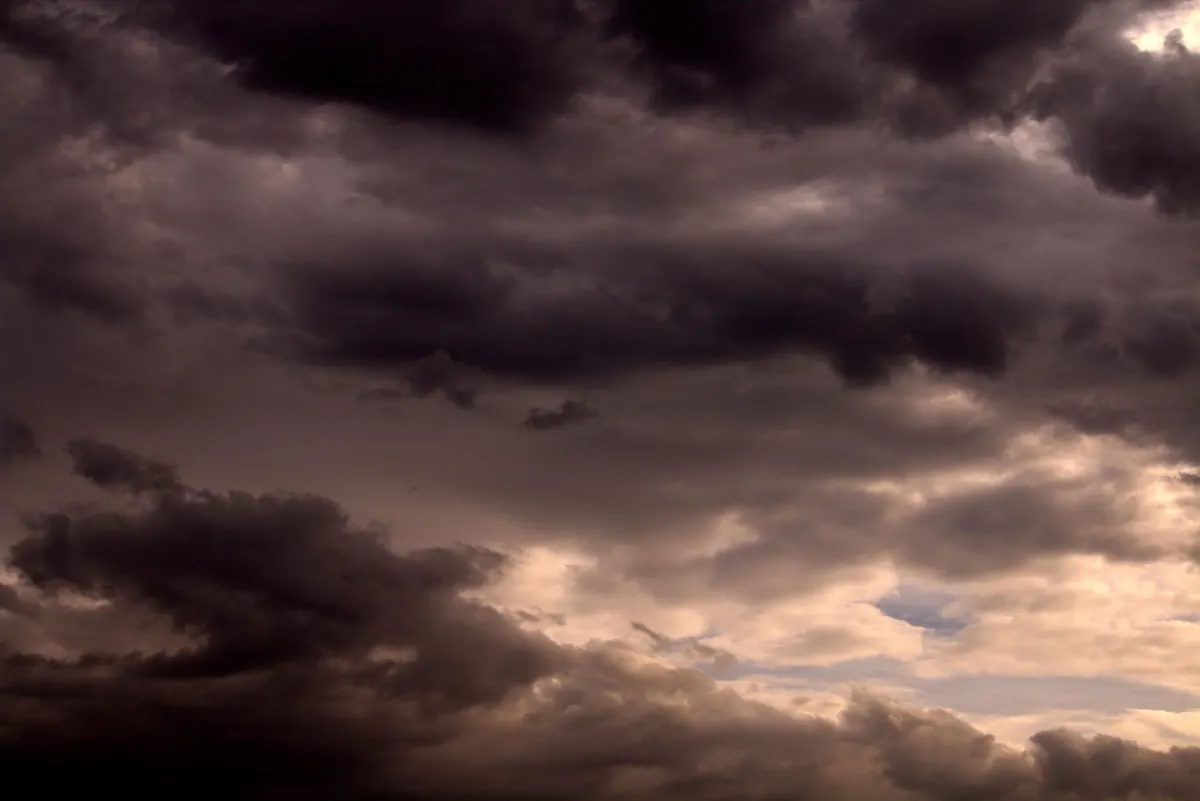
The name is a little misleading. Golden hour is not always sixty minutes, and it is not always golden. Near the equator it can pass quickly; at higher latitudes in summer it can stretch much longer. Heavy cloud, haze, or smoke can mute the color entirely. What matters is the sun’s angle, not the clock. A sun-position app and a quick look at the horizon will tell you more than a generic “golden hour” label on a weather site.
This is also a directional light. You can place your subject with the sun behind them, to the side, or just outside the frame. That control is why portrait and landscape photographers plan around it. The light is warm, but it still has direction, and that is what gives shape to a face, a building, or a hillside.
What Sunset Means in Practice
Sunset is the moment the upper edge of the sun disappears below the horizon. In photography, a “sunset shoot” usually means more than that single moment. It covers the warm period before the sun touches the horizon, the actual crossing, and the afterglow that follows. Those phases look different and call for different decisions.
- Pre-sunset golden hour: the sun is low, the light is warm and directional, and subjects still hold detail. This is often the most flexible part of the evening.
- The sunset moment: the sun meets the horizon. Color in the sky intensifies, contrast rises, and silhouettes become strong. If the sun is in your frame, expose for the sky and expect the foreground to darken.
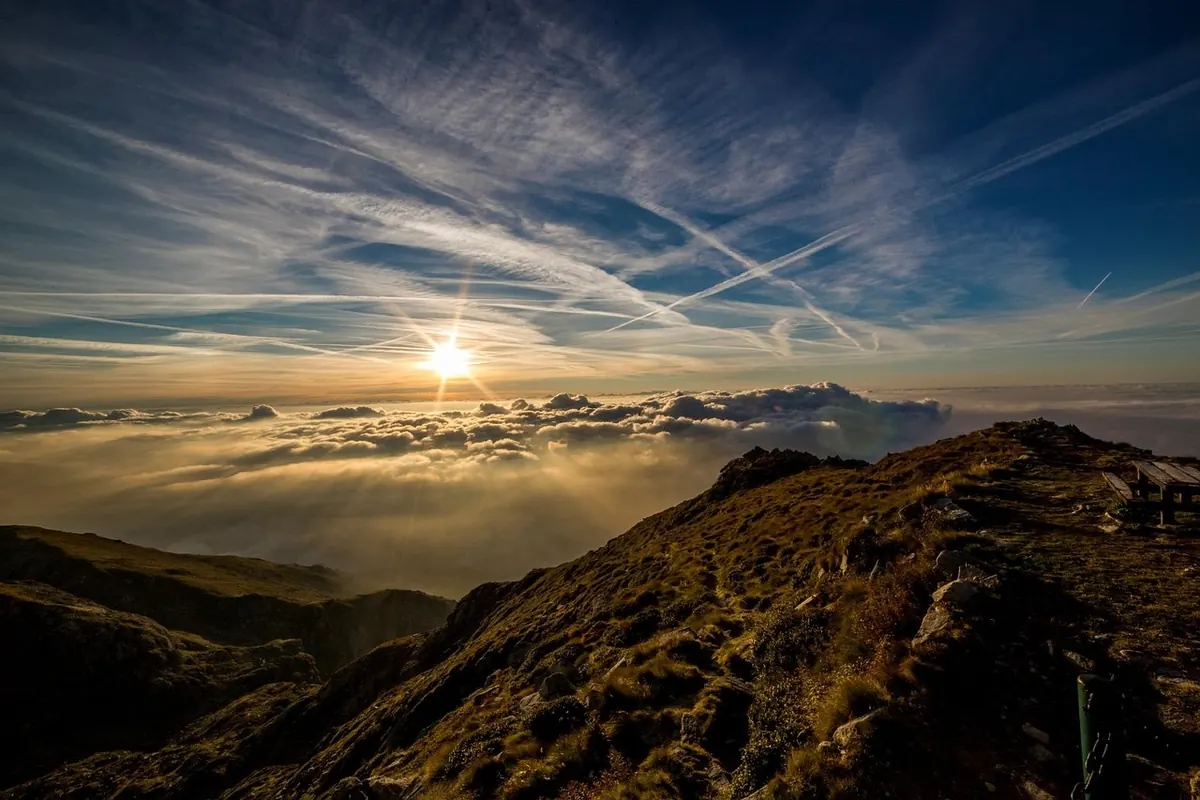
- Afterglow and blue hour: the sun is below the horizon, but the sky can glow pink, orange, purple, or blue. The light is softer and more even. This is when cityscapes, reflections, and long exposures often come alive.
Many photographers pack up as soon as the sun disappears. That is usually a mistake. The afterglow can be the richest part of the evening, especially when there are broken clouds to catch the color.
The Differences That Change Your Photos
- Timing: golden hour is a window; sunset is an event inside that window. You can shoot golden hour for a while. Sunset is brief.
- Light direction: golden hour gives you side light and backlight with some control. Sunset often puts the sun directly in front of you, which means strong backlight and silhouettes.
- Contrast: golden hour is gentler than midday, but direct sun still creates bright highlights. Sunset with the sun in frame is high contrast. Afterglow is usually easier to manage.
- Color: golden hour is warm and steady. Sunset color shifts quickly from gold to orange to red to pink and blue. The sky changes minute by minute.
- What leads the frame: golden hour favors the subject. Sunset favors the sky, the horizon, and the shape of things against it.
Understanding those differences makes planning simpler. You are not just choosing a time. You are choosing which part of the frame will carry the picture.
When Golden Hour Is the Better Choice
Choose golden hour when you need light on a subject. Portraits, architecture, market scenes, gardens, and landscapes with texture all benefit from low, warm side light. The shadows are long enough to add depth, but the contrast is manageable enough to keep detail in a face or a wall. If you are photographing people, place them with the sun to one side or slightly behind them, then use a reflector or a bright wall to fill the shadow side. If you do not have either, move them into open shade and use the warm ambient light.
Arrive early enough to shoot through the transition. The light changes as the sun drops, and the last part of golden hour before sunset often has more color and contrast than the beginning. Meter for the highlights so the sky does not blow out, then lift the shadows in editing if needed. Keep an eye on your white balance; warm light can make skin too orange if you are not careful.
When Sunset Is the Better Choice
Choose sunset when the sky is the subject. A bright horizon, layered clouds, a water reflection, or a city skyline turning into silhouette all need the sun low and the color high. This is also the time for long lenses that compress the sun against a landmark, and for wide shots that let the sky dominate the frame.
Do not leave at the moment of sunset. Stay for the afterglow and the blue hour that follows. Set up a tripod if you have one, lower your ISO, and try a few longer exposures as the light fades. Bracket your exposures when you want both sky color and foreground detail. And be careful with the sun in your frame, especially through a long lens; use live view or compose away from the sun rather than staring into it through the viewfinder.
Planning a Shoot That Covers Both
The best plan often covers golden hour and sunset in one session. You do not have to choose between them; you just need to arrive early and stay late.
- Check the sun’s position and the weather before you leave. Broken clouds often make a better sunset than a clear sky. Heavy haze can mute the color.
- Scout the location in daylight if you can. Find a foreground, a reflection, or a clean horizon line before the light gets dramatic.
- Arrive about forty-five minutes before sunset. Start with golden-hour frames while the light is still workable on your subject.
- Shoot through the sunset moment. Try silhouettes, sun flares, and wide sky compositions. Change your exposure as the sky brightens and darkens.
- Stay for the afterglow. Wait at least twenty minutes after the sun disappears, and keep shooting into blue hour if the color holds.
Bring a lens you can use for both wide sky and tighter details. A zoom is useful here. So is a cloth for wiping flare or mist off the front element. Most of all, give yourself time to watch the light instead of only chasing it.
The Short Version: Choose by Subject and Sky
If you want soft, directional light on a subject, plan around golden hour. If you want color in the sky, a silhouette, or a reflection, plan around sunset and stay for the afterglow. The most useful habit is to treat the whole evening as one continuous shoot: arrive early, shoot the warm light, catch the sunset, then wait for the sky to finish speaking. That way you get the best of both windows without guessing which one you came for.
Photo: danfador / Pixabay