10-Minute Sunset Sketch Practice: A Daily Checklist for Beginners
Ten minutes is enough to learn a sunset. Not to paint a finished one — that takes longer — but enough to learn something true about the light while it is still happening. The usual reason a sunset sketch goes wrong isn't a lack of skill. It's that the sky rearranges itself every four or five minutes, and most beginners spend the first half of that window deciding which pencil to pick up.
This routine is built around that constraint. One page, one view, a timer you can see, and a short checklist you can run without deliberating. Do it daily for two weeks and you will start reading sunset structure before the sketchbook is even open: where the cloud bands sit, where the values break, the exact moment the orange turns violet.
Set Up Before the Light Changes
Work small. A5 or smaller, one page per session. A big sheet invites fussing, and fussing is the enemy of a ten-minute study. Keep the kit in one place so you can sit down and start in under a minute — the setup should never eat the sketch.
- One small sketchbook, A5 or pocket size, one page per session
- A soft pencil (4B) and a harder one (HB), or a single fine liner if you prefer ink
- A small watercolor set or six or eight colored pencils if dry media suits you better
- A water brush or one round brush, size 6
- A scrap of paper roughly postcard size for color swatches
- A phone timer set to ten minutes, face up where you can see it
Sit with the light coming from the side rather than straight at the page. If you're working outdoors, note where the sun will disappear — that spot moves, and marking it early saves you a scramble later.
The Ten-Minute Checklist
Run the steps in order. If you get through four of the six, that's a good session. The point is repetition, not completeness.
- Horizon and frame (30 seconds). Draw one line for the horizon, deliberately off-center, and a rough rectangle for the sky. Commit. No erasing.
- Three big shapes (2 minutes). Block the sky mass, the cloud mass, and the dark foreground silhouette as flat outline shapes, not details. Draw the sky as one shape first.
- Three values (3 minutes). Squint and map the scene in three tones only: lightest, middle, darkest. Hatch or wash them in. Leave bare paper for the brightest note.
- Three color swatches (2 minutes). On the scrap paper, lay three small patches — one for the sky near the horizon, one for the sky higher up, one for the silhouette or water. Do not blend them into a finished sky.
- One texture note (1 minute). Pick a single edge and describe it: a hard cloud rim, a soft ripple band, a ragged treeline. One is enough.
- Date and one sentence (30 seconds). Write the date on the page and one line on the back about what was true today. "Warm band only at the horizon, everything above it grey." Those notes become your reference library.
Shapes: Draw the Sky as an Object
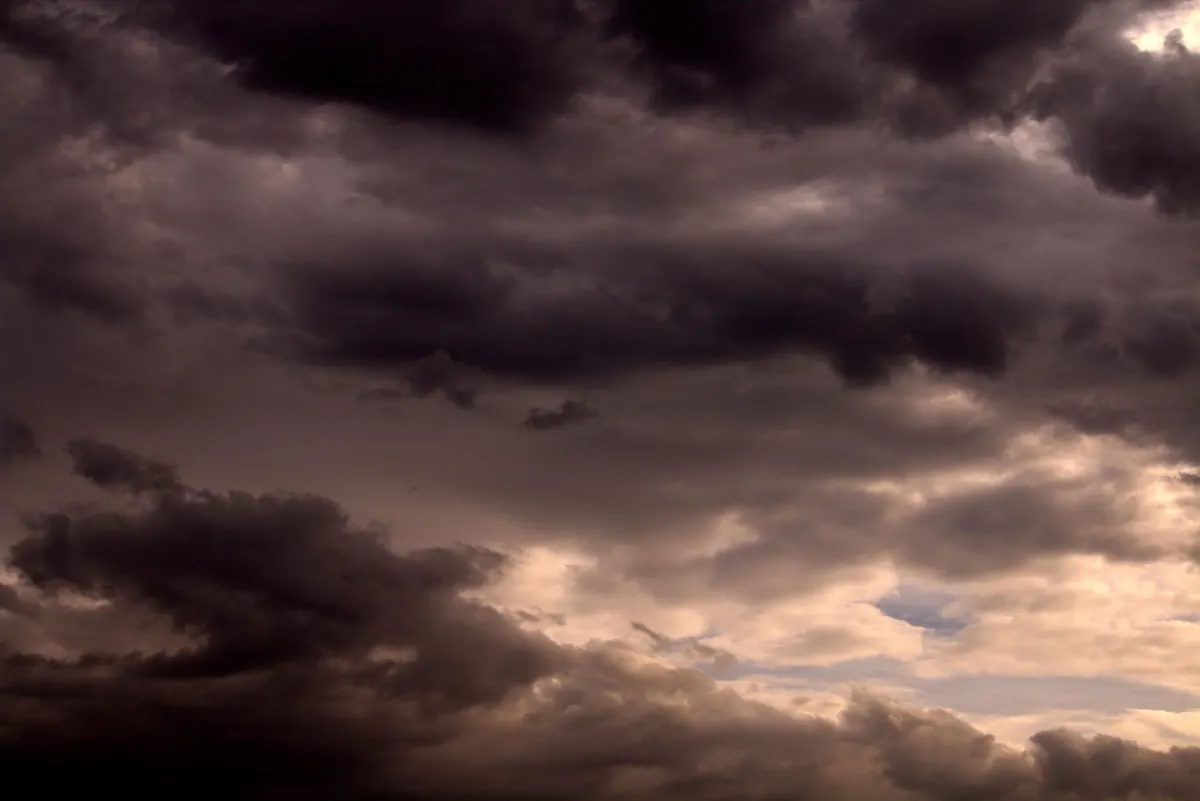
Beginners tend to sketch clouds as fluffy outlines, which is why so many sunset drawings look generic. Clouds are not shapes with bumps on top; they are masses with edges that are hard on one side and soft on the other, and the hard edge almost never runs around the whole form. Look for the flat underside of a band, the sharp leading edge, the place where a cloud simply dissolves.
Spend a whole session on silhouettes alone. Hills, rooflines, palms, a fence post against the glow. Draw them as filled dark shapes with no interior detail at all, then check the proportion of dark to light across the page. Most beginners make the dark mass too small and the sky too tall, which drains the drama out of the scene. A foreground that takes up the bottom third of your page is not too much.
Values: Limit Yourself to Three
The single most useful habit in sunset sketching is refusing to use more than three values. The sky will try to talk you into twenty. Squint until your eyelashes blur the scene, and notice that the whole sunset collapses into a bright band, a mid sky, and a dark land mass. That's the structure you're recording.
Keep paper white for the brightest passage near the sun. Put your darkest note in the foreground, not in the sky — even a dramatic sunset is usually lighter than the land beneath it. If your sketch looks muddled in grayscale, you haven't used too few values; you've used too many half-tones. Turn the page upside down to check. Upside down, you stop naming objects and start seeing patches.
A good sunset study isn't a picture of a sunset. It's a record of where the light was brightest and how fast it fell away.
Color Notes in Shorthand
Resist the urge to paint a miniature sunset every day. Instead, make notes you can read later. Three swatches, each about the size of a thumbnail, laid down wet and left alone. Write a three-word label beside each one, plus its position: low near horizon, mid sky, above the cloud line.
Two things worth recording that beginners often skip. First, temperature: is the band a cool peach or a hot orange? Second, direction — note in the margin which side the light is coming from and where the sun sits relative to your frame. Later, when you're working from these pages in a studio, that margin note will tell you more than the color does. A useful shorthand is to jot the mix, not the color: "cad yellow + a touch of rose" is easier to rebuild than "orange."
When the colors won't cooperate
If the sky looks flat and grey-orange, cheat deliberately: make the upper sky cooler than you see it and let the horizon stay warm. Slight exaggeration in a ten-minute study teaches you more about how sunset color behaves than a timid, accurate rendering does.
What to Do on a Grey Day
The habit breaks when the weather does, so plan for it. Three fallbacks, all of which fit in ten minutes:
- Sketch from a photograph, but turn it upside down first and copy only the value patches.
- Draw a sunset from memory, then check it against a photo you took last week. The gaps in your memory are the useful part.
- Mix and label six sunset colors on scrap paper without drawing anything. Ten minutes of mixing is real practice.
None of these replace working from life, but they keep the streak alive, and the streak is what turns a checklist into a reflex.
Making Ten Minutes Stick
Anchor the practice to something that already happens — the kettle, the last light through a particular window, the walk to the car. Keep the sketchbook open on the same shelf and the timer in the same pocket. Ten minutes at the same time each day beats an ambitious hour that never arrives.
Don't judge individual pages. The value of this routine shows up in batches: thirty pages in, you'll notice you're placing the horizon faster, choosing darks with more confidence, and mixing that horizon peach in two strokes instead of eight. Flip back through the book once a week, pick the one study that got the light right, and leave it at that. Then close the book, put the pencil away, and let tomorrow's sky be a different problem.
Photo: World-fly / Pixabay